
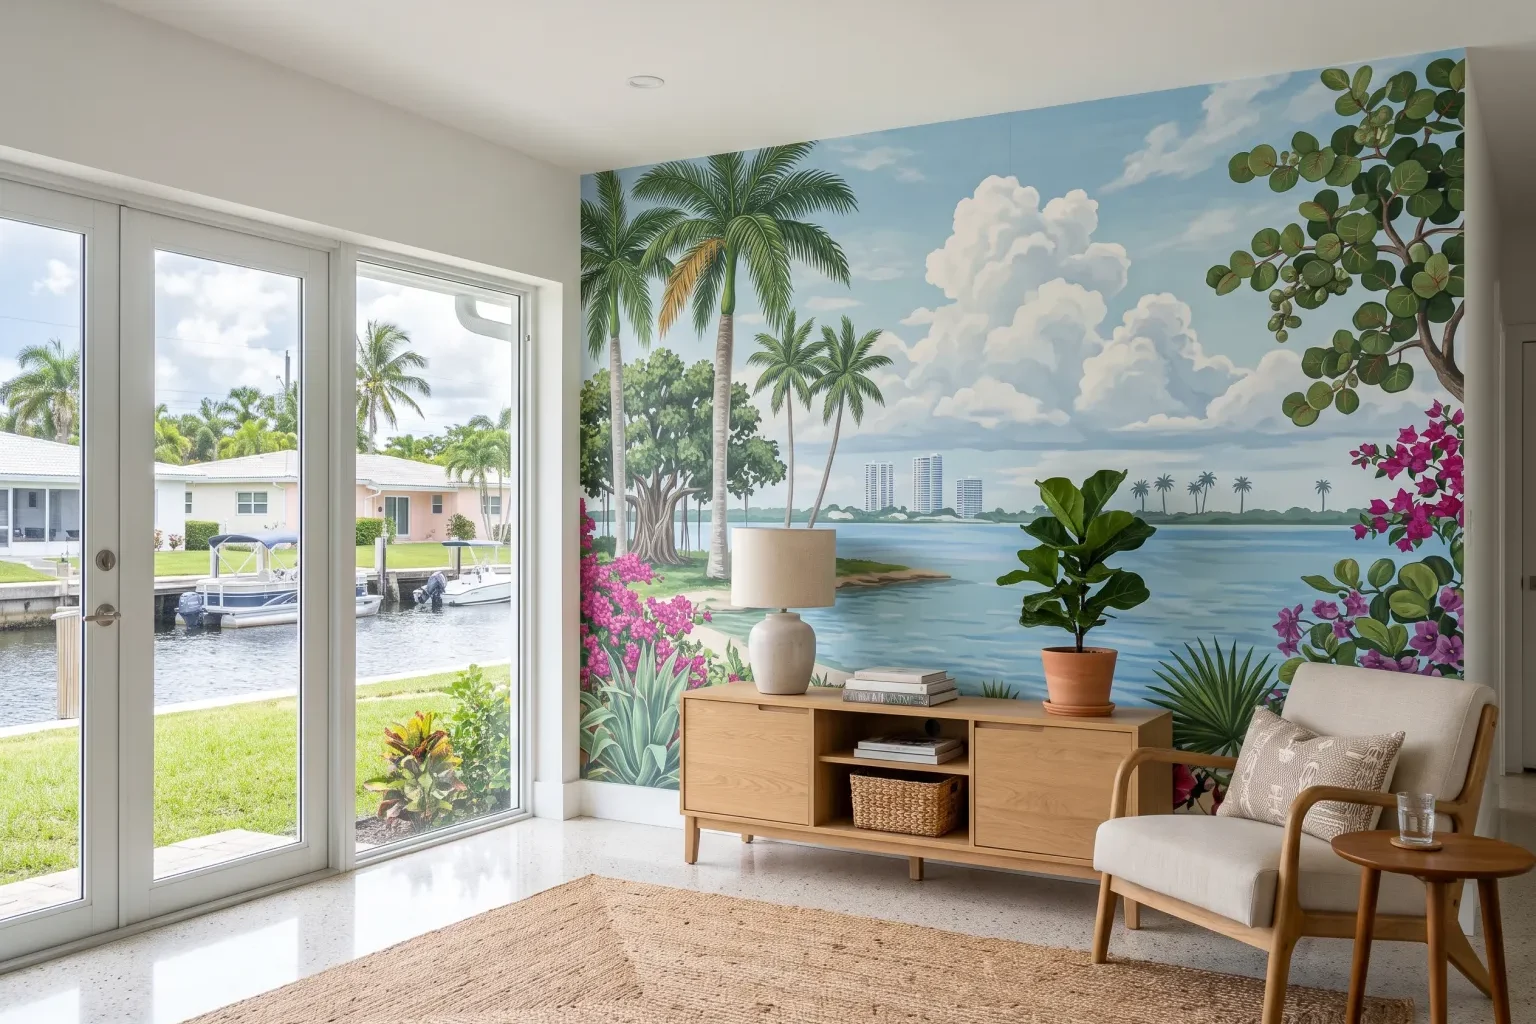
The short answer
Murals suit a single feature wall that faces the main seating or entry, with few windows or doors interrupting the image. We smooth and prime the wall, dry-lay every numbered panel to confirm the image and dimensions, then hang from a plumb center line outward so the focal point sits where you want it. Care depends on the material, but most printed murals tolerate gentle wiping.
A wall mural is one large image split into numbered panels, and the panels only make sense when every one of them lands exactly where the printer intended. A tropical canopy, a misty mountain range, a map, a botanical illustration blown up to fill a whole wall: the picture is only as convincing as the alignment of its edges. PrimeWall Interior Solutions hangs printed murals in houses, townhomes and condos throughout Fort Lauderdale and nearby Broward cities. Below you will find how to tell if a mural suits your room, what we do to the surface before the first panel, the order in which a mural goes up, what makes one project bigger than another, and how to keep the image looking crisp for years.
Picking the right wall for a mural
The strongest mural walls are uninterrupted. A bedroom headboard wall, the back wall of a home office that shows on video calls, a nursery, a dining room end wall, or the long blank side of an open-plan living area all give the picture room to breathe. Every window, door, thermostat and outlet cuts a hole in the image, so a wall with three openings can end up feeling chopped.
Think about where people stand. A horizon line in a landscape mural reads naturally at roughly seated eye level in a living room, while a kids' room might want the interesting details lower. We look at furniture placement with you before ordering, because a sofa or a tall dresser will cover the bottom portion of the scene, and you may want the printer to shift or scale the artwork so the important parts stay visible.
In South Florida, light matters as much as layout. A wall facing a big west window gets strong afternoon sun that can fade inks over time, and glare can wash out dark scenes. North and east walls, or rooms with shaded lanais, tend to show murals at their best.
Surface work before the first panel
A mural is unforgiving because a large photograph exaggerates every bump. A smooth, flat, evenly colored wall is the goal. We remove outlet covers, patch dents and screw holes, sand down drips from earlier paint jobs, and knock down heavy texture. In older ranch homes with plaster or with knockdown texture from past remodels, a skim coat is often the only way to get the flat surface a mural needs.
Once the wall is smooth, we apply a wallcovering primer suited to the mural's backing. Non-woven murals generally go up with paste applied to the wall, while paper and vinyl murals may call for pasting the panel itself, and the primer choice follows the maker's instructions. Primer evens out porosity, so the adhesive dries at the same rate across the whole wall and the panels do not shrink unevenly. It also makes the mural strippable later, which matters if you redecorate.
Because indoor humidity here stays high through summer, we let the primer cure fully with the AC running before hanging. Rushing that step can trap moisture behind the print.
- Remove plates, fill holes and sand old paint ridges
- Skim coat textured or uneven walls
- Prime to the backing type the manufacturer specifies
- Allow primer to cure in conditioned air
Installation order, panel by panel
We start by measuring the wall precisely and comparing it to the mural's printed size. Most custom murals are printed with a bleed, an extra margin around the edges, so the image can be trimmed to fit walls that are slightly out of square. Knowing where that extra lands decides where the picture's center will fall.
Then we dry-lay the panels on a clean floor in numbered order. This step confirms that nothing was misprinted, that the colors match from panel to panel, and that the overlap or butt edges line up as the printer intended. If a panel has a defect, it is far better to find it on the floor than halfway up the wall.
With a laser level we snap a plumb line where the first panel will hang, often at the center of the image or at a strong vertical in the design. Panels go up one at a time, edges matched by eye at the image level rather than just at the paper edge, because a matched tree branch or horizon line matters more than a perfectly flush edge. We smooth from the center out with a plastic smoother to push out air.
Seams on most modern murals are butted. Where a printer supplies an overlap for double-cutting, we cut through both layers with a straightedge and peel away the waste so the seam disappears. Trimming at ceiling, baseboard and corners happens last, with fresh blades, and openings for outlets are cut after the panel is set.
Factors that make a mural job larger or smaller
Wall condition sets the starting point. A flat, painted drywall wall in a newer condo may need only primer, while a block wall with old texture and patched cracks needs more hours before any image goes on. The mural's material also changes the work: thin paper prints tear more easily when wet, peel-and-stick murals need very clean surfaces, and heavy commercial vinyl is stiffer to wrap around corners.
The image itself counts. A busy scene with fine linework demands slower, closer matching at every seam than a soft watercolor wash. Wall size and ceiling height determine the panel count and whether we need taller ladders or staging, and a mural that wraps onto a second wall or a ceiling adds layout time. Openings in the wall, such as windows, niches or a fireplace, each add cutting and fitting.
Keeping a printed mural looking sharp
Most non-woven and vinyl murals can be wiped with a soft, slightly damp cloth and plain water; avoid solvents, abrasive pads and bleach-based cleaners that can lift inks. Paper murals and fabric-textured prints are more delicate and usually call for dry dusting only. We will tell you which category your mural falls into when we finish.
Keep indoor humidity steady by running the AC consistently, and use window film or drapes if sunlight hits the wall directly for hours each day. Hang artwork or shelves with care, since every nail punctures the image; if you know you want a shelf on the mural wall, mention it before installation and we can plan around it. During hurricane season, if you move furniture against walls to clear windows, pad corners so they do not scuff the print.
Mural Installation by city
- Mural Installation in Lauderdale-by-the-SeaLocal service & repairs
- Mural Installation in Oakland ParkLocal service & repairs
- Mural Installation in Wilton ManorsLocal service & repairs
- Mural Installation in Pompano BeachLocal service & repairs
- Mural Installation in Lauderdale LakesLocal service & repairs
- Mural Installation in Lighthouse PointLocal service & repairs
- Mural Installation in North LauderdaleLocal service & repairs
- Mural Installation in Hillsboro BeachLocal service & repairs
- Mural Installation in LauderhillLocal service & repairs
- Mural Installation in MargateLocal service & repairs
- Mural Installation in Coconut CreekLocal service & repairs
- Mural Installation in Deerfield BeachLocal service & repairs