
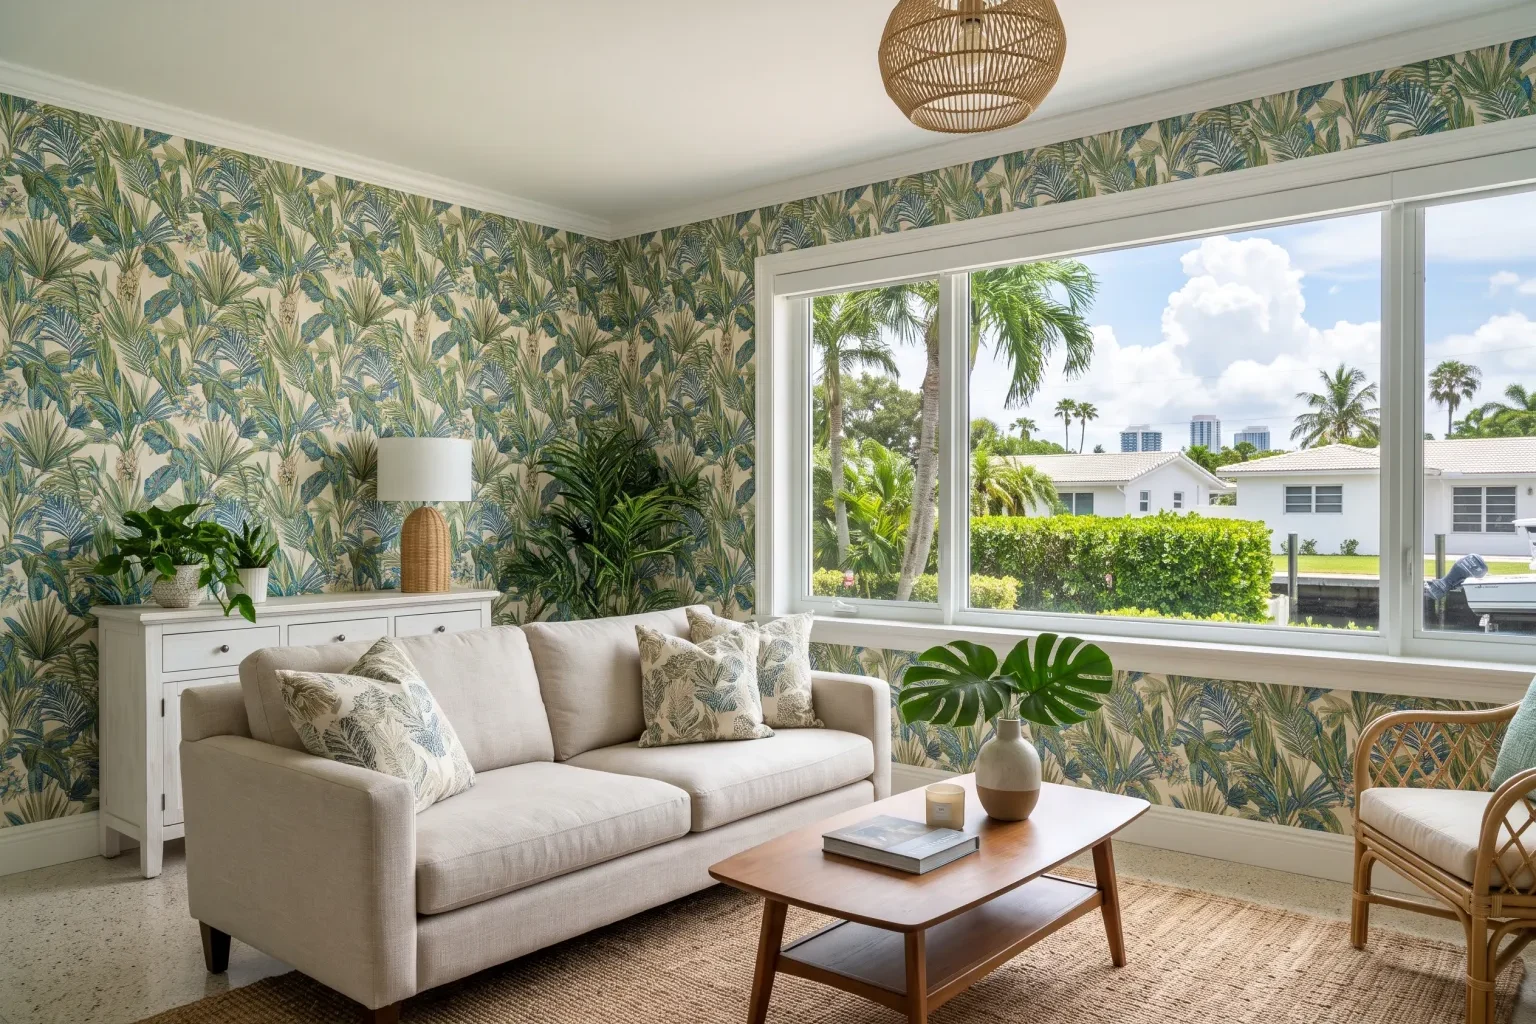
The short answer
Peel and stick wallpaper is a good choice for accent walls, rentals, closets, shelving backs and rooms you plan to change again in a few years. The wall must be clean, smooth and painted with a fully cured satin or eggshell finish, because the adhesive only sticks to what is under it. Hung carefully, it stays put in conditioned rooms and comes off later without paste residue.
Self-adhesive wallpaper looks easy in a video and gets frustrating on an actual wall. The backing grabs before you are ready, air bubbles chase each other across the panel, and a pattern that drifts a quarter inch by the third strip ends up visibly crooked by the sixth. PrimeWall Interior Solutions puts up peel and stick products for renters, condo owners and homeowners in Fort Lauderdale and the cities around it who want the look of wallpaper without paste. This page covers which rooms suit it, how surface preparation differs from traditional paper, the way we handle the sticky backing during installation, what affects the size of a project, and what to expect from the finished walls in a humid South Florida home.
Who peel and stick actually suits
This product shines where flexibility matters more than permanence. If you rent an apartment near the beach and your lease allows removable decor, if you are staging a condo for sale, or if you simply like to refresh a room every few years, self-adhesive paper lets you change the look without a messy strip-off later. It is also handy for small, contained surfaces: the back of a bookcase, the inside of a closet, a laundry nook, stair risers, or a single wall behind a bed.
It is less suited to very large rooms, high ceilings, and walls with heavy texture. Long drops are hard to keep straight with a sticky backing, and texture leaves tiny air pockets where the adhesive never touches the wall. Steamy bathrooms and kitchens next to the range are also tough, since heat and moisture weaken many pressure-sensitive adhesives. In those spaces we usually suggest a pasted vinyl instead.
- Strong fits: rentals, accent walls, closets, built-in backs, nurseries
- Workable with care: hallways and powder rooms with good ventilation
- Better alternatives exist for: showers, kitchens behind the stove, tall stairwells
Surface prep is different here
Traditional wallpaper bonds through paste soaking into a primed surface. Peel and stick has no paste, so the adhesive depends on the paint film beneath it. That makes the paint the real foundation. Flat or matte paints are chalky and porous, and adhesive can lift off them; very fresh paint is still releasing solvent and may bubble under the film. We look for a sound satin or eggshell finish that has had several weeks to cure.
Where the existing paint is flat, peeling or freshly applied, we may recommend repainting with a compatible primer and finish and waiting before installation. Patched spots get sanded flush and sealed, because raw joint compound is dusty and the adhesive will fail over it. Immediately before hanging, we wipe the wall with a lightly damp cloth to remove dust and the thin film that builds up from cooking and air conditioning, then let it dry fully.
Humidity plays a role too. A wall that feels cool and clammy, often an exterior block wall in summer, can carry condensation that keeps the adhesive from grabbing. We check for that and wait for stable, conditioned air when needed.
How the panels go up
We begin by measuring the wall height and width and checking the roll's pattern repeat, which tells us how much to add to each panel so the design lines up across strips. Then we mark a plumb line with a laser rather than trusting the corner, since corners in many homes are not true.
For each panel, we peel back only the top few inches of liner, align the edge with the plumb line and the pattern at the ceiling, and tack it lightly. The rest of the liner comes off gradually from behind as we smooth downward with a felt-edged squeegee, working from the center outward to push air toward the edges. Removing the whole liner at once is the most common reason DIY panels wrinkle.
Most peel and stick products are designed to butt edge to edge, though some have a slight overlap strip. We follow the maker's seam instruction, match the pattern at eye level first, and lift and reposition before pressure locks the adhesive. Trimming at the ceiling and baseboard is done with a sharp snap-off blade guided by a metal straightedge. Outlets and switches are cut out with an X and trimmed back so the cover plate holds the edge down.
- Measure and plan panels using the pattern repeat
- Laser a plumb line for the first strip
- Peel the liner gradually while smoothing center-out
- Match the pattern before pressing the seam firm
- Trim with a fresh blade and reinstall cover plates
What shapes the effort involved
Wall condition comes first. A cured, smooth, satin wall goes straight to installation; a flat-painted or patched wall needs repainting and cure time before we can return. The product makes a difference as well: thin, inexpensive films stretch and wrinkle more easily, while thicker textured peel and stick is more forgiving but harder to wrap around outside corners.
A large pattern repeat means more material per panel and more careful matching, while a random or small pattern goes up faster. Room size, the number of windows and doors, and ceiling height all influence the panel count and the ladder work. A tall wall is slower with self-adhesive paper than with pasted paper because a long sticky drop is harder to steer.
After installation: what to expect
Give the adhesive a day or two to settle before hanging pictures or pushing furniture against the wall. Many vinyl-faced peel and stick papers can be wiped with a soft, damp cloth; avoid scrubbing the seams, since water can creep under the edges.
Edges are the weak point. If one starts to lift after a summer of high humidity or an AC outage during a storm, press it firmly with a clean cloth. A stubborn edge can be helped with a thin line of seam adhesive, though that may make removal slightly harder later. When it is time to take the paper down, pull slowly at a low angle, close to the wall, to keep the paint underneath intact.